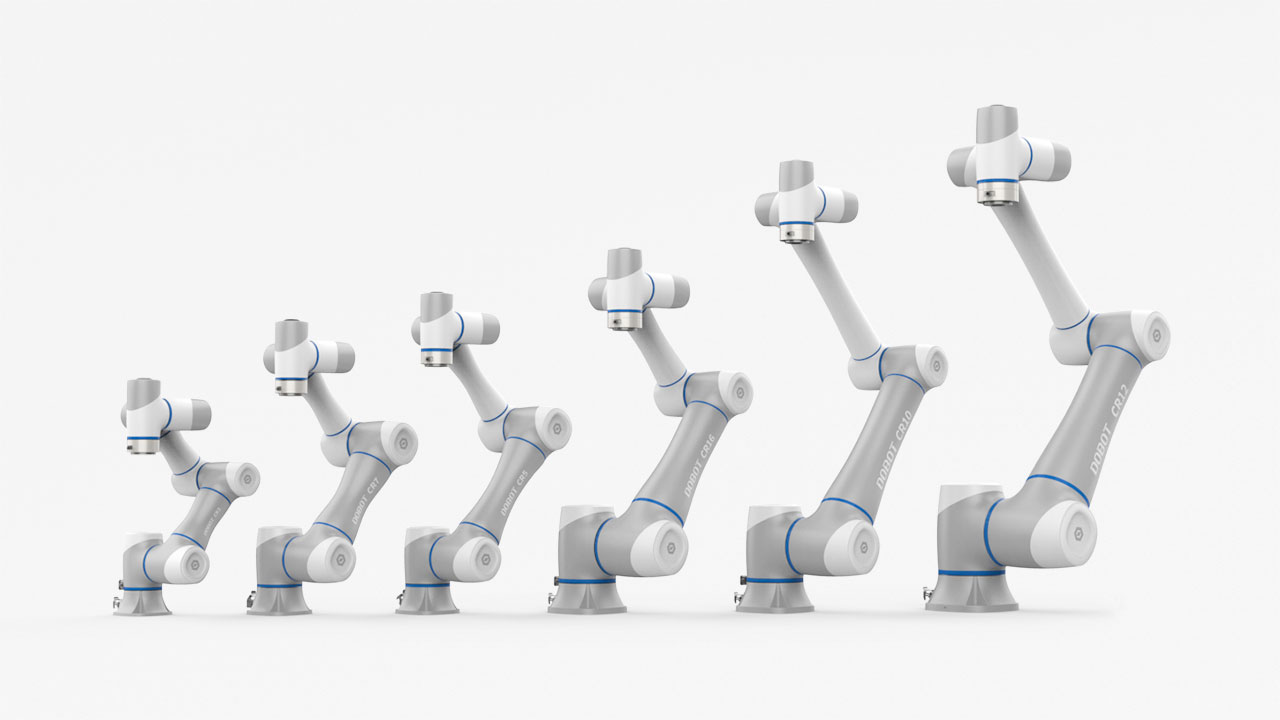
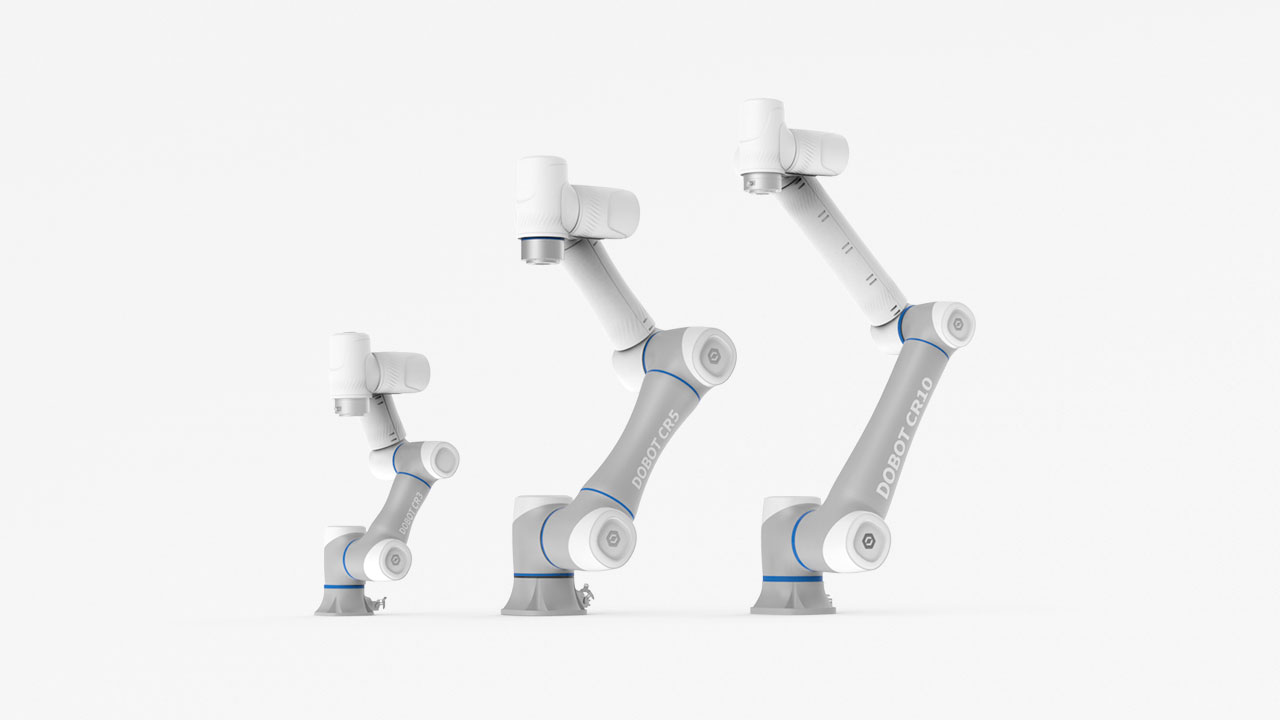
Industries
Collaborative robots offer competitive advantages to businesses across industries.
Learn More
 Metal Processing
 Automotive
 Food & Beverage
 Chemical
 Consumer Electronics
 Healthcare
 New Retail
 Semiconductor
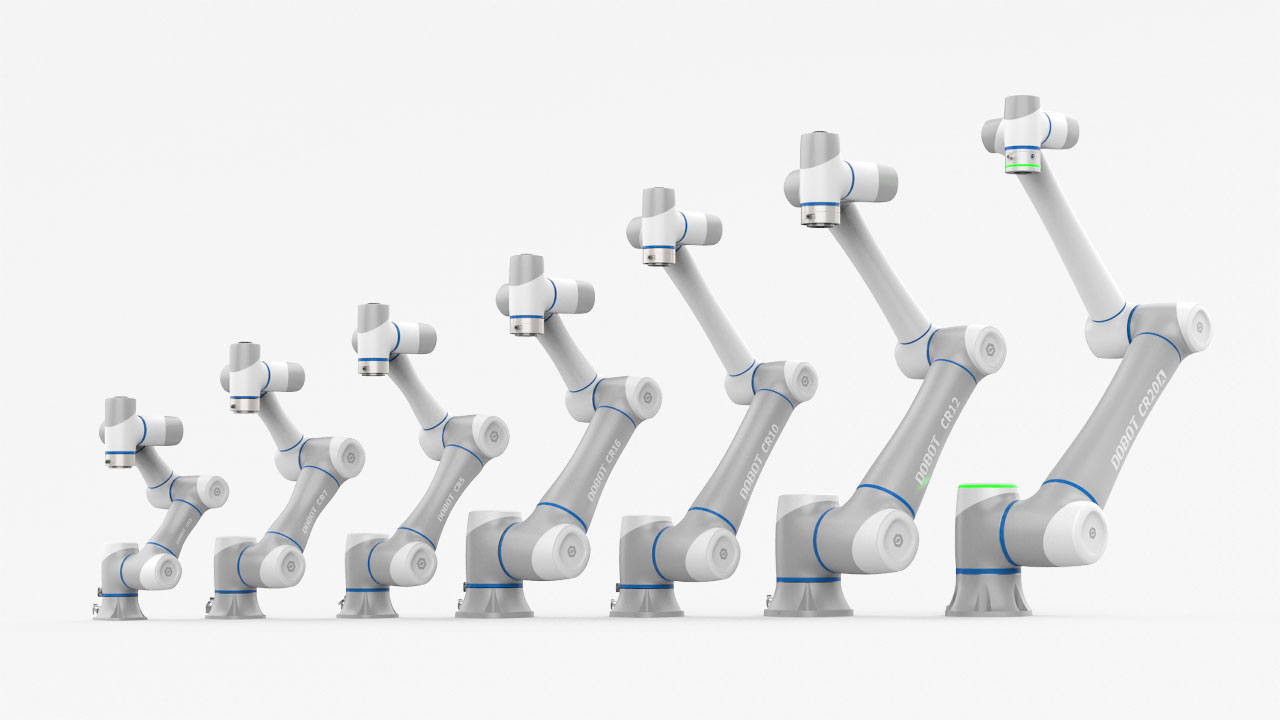
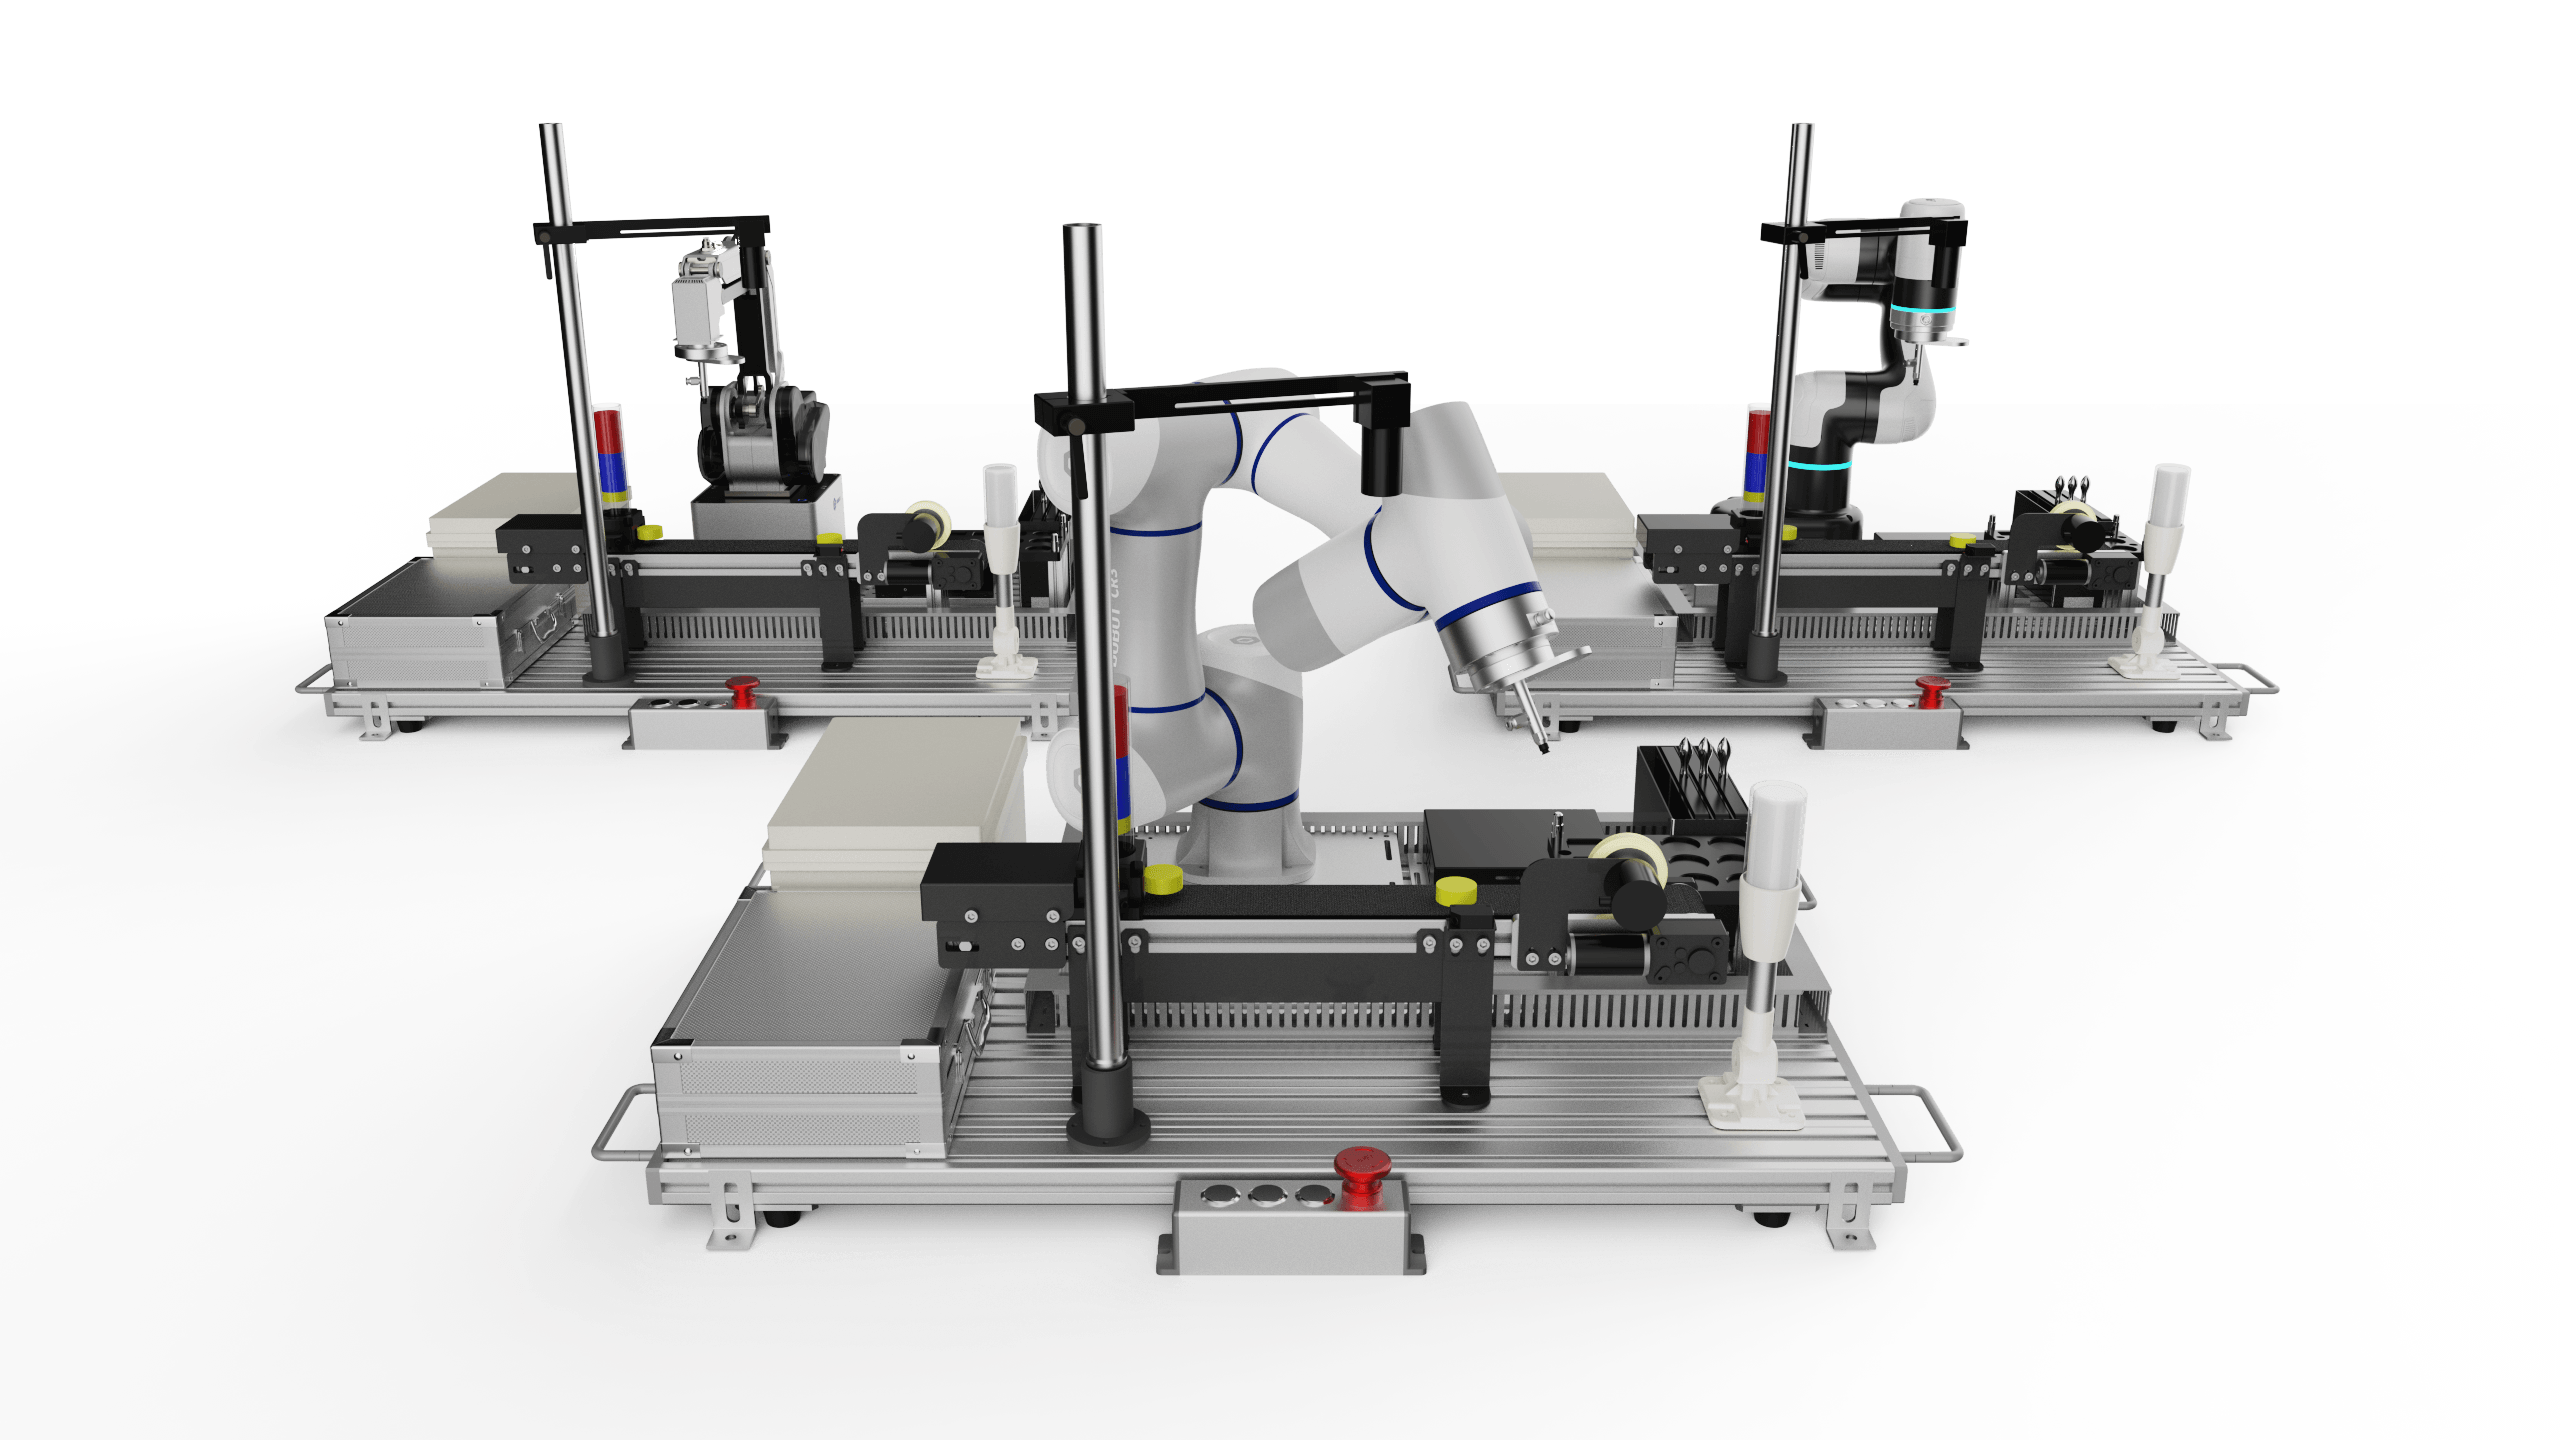
Applications
Dobot's robots are capable of performing a wide range of tasks more efficiently.
Learn More
 Welding
 Palletizing
 Loading and Unloading
 Assembly
 Bin Picking
 Gluing
 Insertion
 Polishing
-
Download Center
Get the latest software and firmware to keep your robots up to date. -
Academy serviceLevel up your automation with robotics training sessions.
-
Customer Service
Get dedicated support you need to optimize Dobot robots. -
FAQ
Common questions answered here.

